Equipment that you use repeatedly needs to have proper maintenance to perform as expected. The same goes for your cross country skis. The more you ski, the more wear and tear it experiences. And maintenance is the only way to ensure they keep performing as expected for as long as possible.
Cross country ski maintenance has several aspects: tuning, preparing, cleaning, sharpening, and repairing. Each one is essential to keep your ski in great condition. Any major problems should be handled by professionals. But for minor issues, you can easily do it yourself. And listed below are the basic steps of ski maintenance to keep your skis in great condition.
Do You Need to Tune Cross Country Skis?
You definitely need to tune cross country skis.
Like any piece of equipment, its performance decreases over time. But tuning ensures optimal performance. Like cars, tuning your skis keeps them in good condition and ensures they perform well as long as possible.
Tuned skis perform better than untuned counterparts. They have better grip and won’t get caught on snow or ice. Tuning also extends their durability.
How to Prepare Cross Country Skis
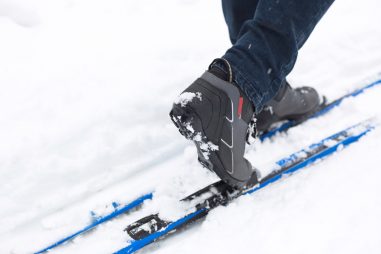
Before heading out for a ride, you first have to prepare your skis. This is important for your ski’s performance, whether you have a new or old ski.
Preparing your ski involves applying the wax it needs. If you have a waxable ski, you’ll need a kick and glide wax. For waxless skis, you’ll only need the glide wax.
Before applying the wax, make sure the base is clean and free from any dirt, debris, snow, and old wax.
If you’re prepping your ski for tuning, check the base for any damages. Repairs might be in order before you can fine-tune your skis.
What Do You Put on the Bottom of Cross Country Skis?
Ski wax is what you put on the bottom of the ski. For cross country skis, you need two kinds of waxes depending on your ski type. Kick and glide wax for waxed skis and glide wax only for waxless skis.
The kick wax is what allows your ski to grip the snow and let you kick off with ease. It also prevents you from slipping backward on slopes.
Glide waxes help your ski glide smoothly on the snow. It reduces any friction to give you a smooth ride with every step.
Can You Use Silicone Spray on Cross Country Skis?
Silicone sprays can be used on cross country skis. It’s a trick that skiers use to prevent snow from sticking on the textured part of a waxless ski.
Using a waterproofing silicone spray prevents snow buildup and binding onto the base, especially the kick zone.
Why Does Snow Stick to My Cross Country Skis?
The reason why snow sticks to your cross country ski lies in physics.
By nature, water molecules strongly bond together. And when you ski, you create friction which turns ice into water. So when the ice melts underneath your ski, it turns into water. In turn, it causes the snow to stick to your skis.
How Do You Keep Snow From Sticking to Cross Country Skis?
The only way to keep snow from sticking to your skis is through waxing. Waxing prevents water from sticking to your ski. And without water, the snow won’t stick either.
Be sure to apply glide and kick wax on the proper zones underneath your skis.
What Do You Do When Snow Sticks to Cross Country Skis?
When snow starts sticking to your skis, it’s a sign that it needs some waxing. You’ll experience a lot of friction if you continue to ski without removing the snow and applying wax. It’ll be too difficult to gain momentum and glide.
How Do You Clean Cross Country Skis?
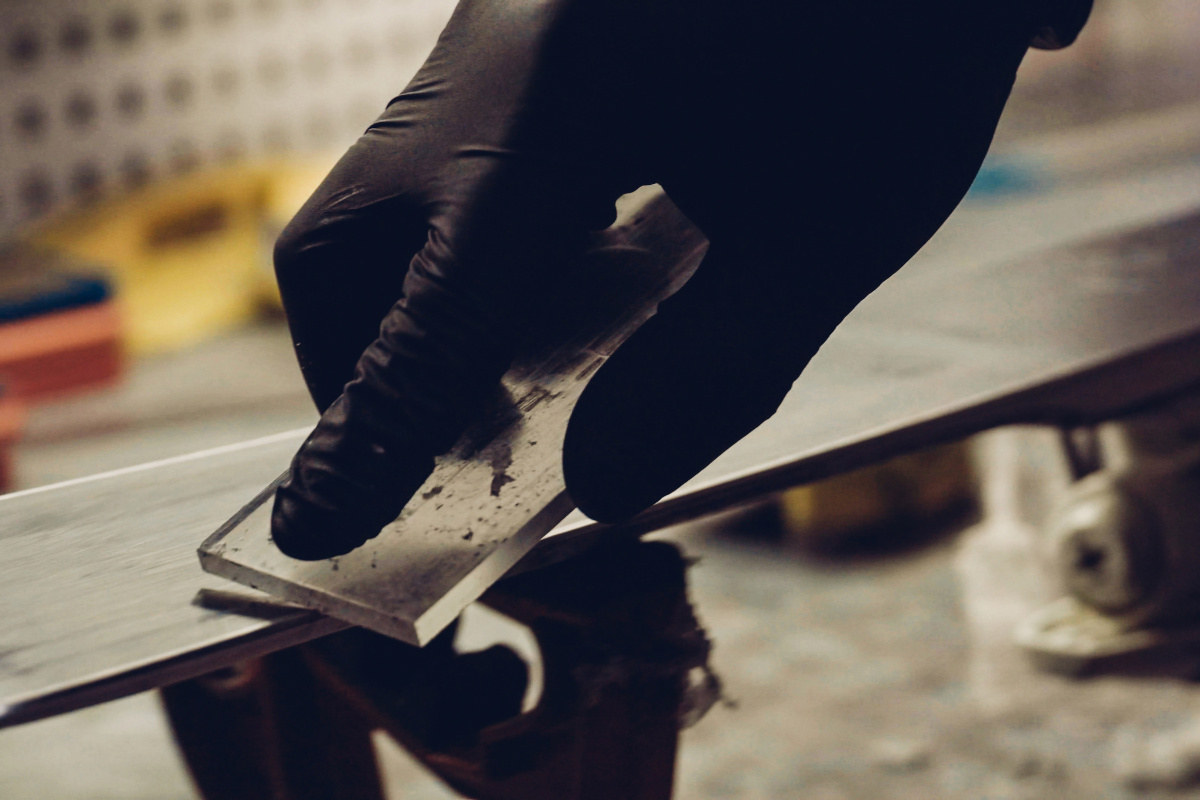
Cleaning your cross country skis involves three basic steps:
- Scraping off old wax using a plastic scraper.
- Wiping the base with a high-quality wax remover to remove any residue.
- Wiping away any traces of wax remover using a dry paper towel.
Once your skis are dry and free of any dirt and old wax, you can now apply the new wax or keep it in storage.
Can You Sharpen Cross Country Skis?
Cross country skis that can handle ungroomed terrain and touring have metal edges. These edges are sharpened when needed to maintain optimal performance.
Metal-edge skis are designed to handle steeper slopes and terrain. So you get more control on icy slopes. Such skis are shorter and wider for better control and turning.
Do Cross Country Skis Need to Be Sharpened?
Cross country skis need to be sharpened periodically. This ensures the edges remain sharp and you have proper control.
You can tell if your ski needs skiing when you feel like you don’t have as much control especially on hard-packed snow. You might not notice this that much on powder snow, though. A significant slowdown or drag is also a telltale sign. Another is when you see nicks, burrs, or rust on the edges.
But it’s important to note that ski edges will permanently lose their sharpness in time. This is due to wear and tear or after several rounds of professional sharpening. That’s a sure sign that it’s time to get new skis.
How Do You Sharpen Cross Country Skis
You can sharpen your skis by yourself or through a professional. If you’re a new skier, you should let pros handle any major edging and sharpening work needed.
How Do You Sharpen Cross Country Ski Edges?
Here’s how you can tune your ski edges at home:
Tools needed:
- Towels
- Diamond stone
- Gummy stone
- Alcohol
Before starting, place your ski on a ski vice to hold them in place. If you don’t have that, you can use a stack of books or two stools. Don’t forget to lock the ski brakes too. And when working, always start from the tip to the tail.
Inspect the Edges
Run the towel along the edge to feel for nicks and burrs. Never use your fingers for this. If there are any nicks, the fabric will get snagged on those areas.
Remove Burrs
Wet the diamond stone and slowly run it over the edge. Be sure to focus on the rough spots or rust. This removes any rough spots to make edges smooth and sharp.
Polish Rust
Polish any rust by rubbing the gummy stone on those areas. Gummy stones feel like an eraser and are less abrasive than diamond stones.
Repeat on the Side Edges
Repeat steps 2 and 3 on the side edges of your ski. Always keep the pressure light as you run the diamond and gummy stones along the edge.
Clean Your Skis
Wipe away any metal shavings and other materials using the towel wet with alcohol.
Can Cross Country Skis Be Repaired?
Whether it’s a major gouge or minor scrapes, damage is an unavoidable part of your ski’s life. Fortunately, they can be repaired.
Minor repairs can be done at home but major gouges that expose your ski’s core need to be done at the repair shop.
Any damage should be repaired immediately. Leaving your ski battered and bruised will have an impact on its performance.
How Do You Repair Cross Country Ski Bases?
To repair minor scrapes at home, you’ll need the following tools:
- Metal scraper
- Base cleaner
- Towels
- P-Tex candle or epoxy
- Wire brush
Here are the basic steps to repair your skis. Note that this method applies to waxed skis.
Clean the Base
Use the scraper to remove any protruding materials around the gouge. Starting from the tip to the tail, brush away any debris or dirt.
You should also make sure that no wax residue is left on the base. Use a wax or base cleaner for this. You want to make it as clean as possible so the P-Tex or epoxy works effectively.
Fill the Gaps
Light the P-Tex candle and let it drip on the holes that need filling. Exercise a lot of caution on this step. If using an epoxy, fill the hole with the paste. Once filled, leave it to dry.
Scrape Excess Plastic
Scrape off the excess P-Tex or epoxy to give your base a smooth finish. Once done, you can now apply ski wax.
How to Repair Waxless Cross Country Skis
Repairing waxless cross country skis is a bit different. For the glide zone, you’ll follow the same process for waxed skis: clean, fill the holes with P-Tex, and smoothen the area.
As for the kick zone, here’s how you can make minor repairs:
- Smoothen out any course edges by spot sanding. Use a 150- or 200-grit sandpaper but don’t overdo it.
- Wipe away any excess material.
If your kick zone has sustained serious damage, consult a repair shop for an assessment. It could be that you don’t have much camber left on your skis. You’re going to have to replace your skis if this is the case.