Capturing skateboarding photography is a thrilling challenge that pushes your skills as a photographer while immersing you in the energy and creativity of the sport. Unlike other types of photography, it involves freezing rapid movements, anticipating tricks, and conveying the passion of skaters through your lens. Whether you’re a beginner with a smartphone or a professional with high-end gear, understanding the nuances of skateboarding photography can transform your images from ordinary snapshots to dynamic visual stories that jump off the screen.
Essential Gear for Skateboarding Photography
Before you hit the skatepark or street spot, having the right gear is fundamental. While great shots depend mostly on skill and timing, reliable equipment definitely helps capture those split-second moments.
Here’s what you’ll want to have on hand:
- Camera: A DSLR or mirrorless camera with fast autofocus and good burst mode capabilities is ideal. These cameras help you track motion and capture sequences of tricks.
- Lenses: Versatile zoom lenses like a 24-70mm f/2.8 allow you to shoot wide scenes or zoom in for close-ups. A prime lens with a wide aperture like a 50mm f/1.8 works great for portraits or low-light situations.
- Tripod or Monopod: While skateboarding photography often involves handheld shooting for flexibility, a monopod can help reduce camera shake during slower shutter speeds.
- Extra Batteries and Memory Cards: Action-packed sessions can drain batteries fast and fill up cards quickly, so always bring spares.
- Protective Gear: Skateboarding spots can get gritty, so bring lens wipes, camera covers, or rain protection if conditions are unpredictable.
Techniques for Capturing Motion and Tricks
Skateboarding is all about motion, and your photography techniques need to match that energy to deliver compelling images. The key is to freeze action while still conveying speed and style.
Here are some effective techniques:
- Panning: Follow the skater’s movement with your camera while using a slower shutter speed (around 1/30s to 1/60s). This creates a sharp subject against a blurred background, emphasizing motion.
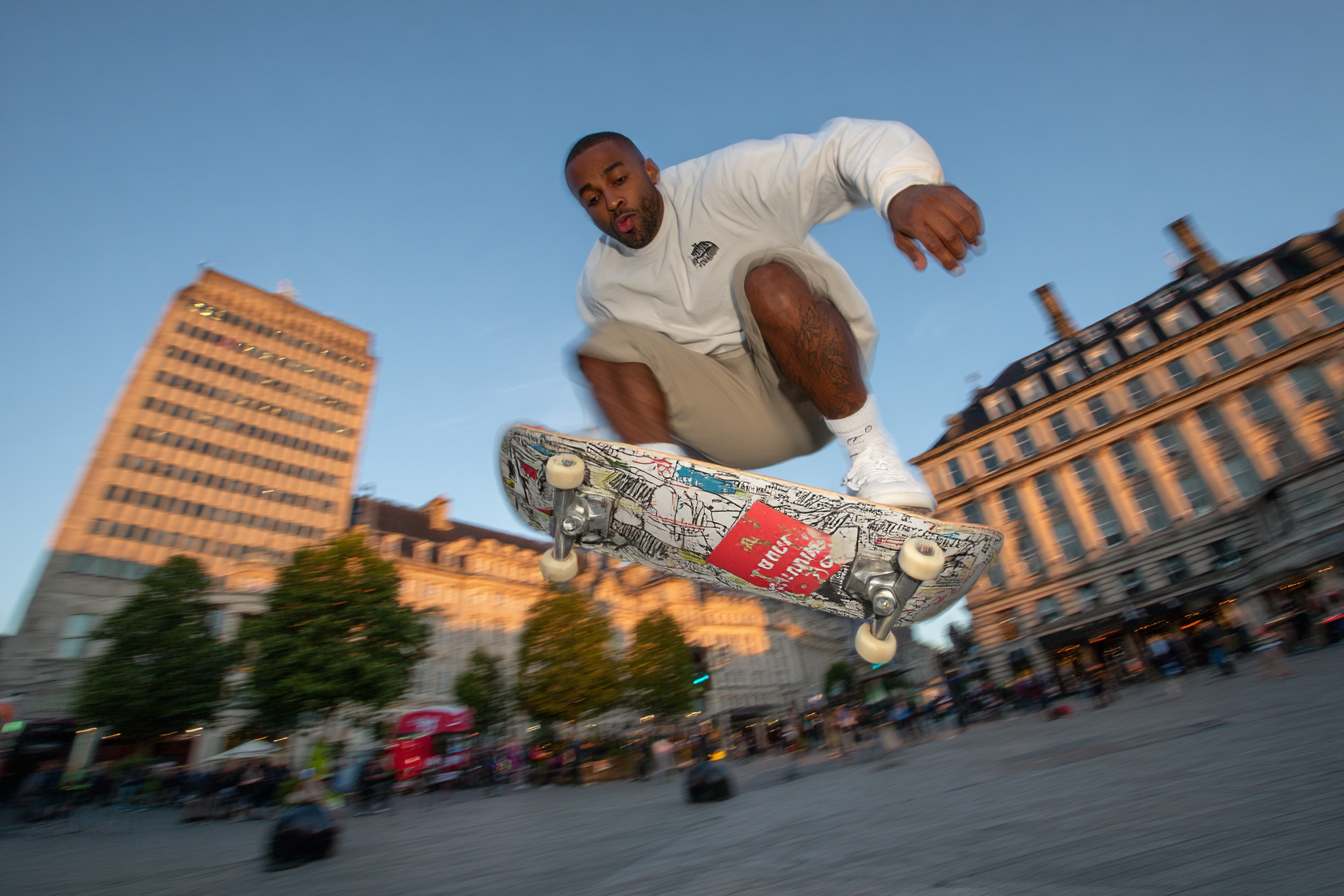
- High Shutter Speed: To freeze fast tricks like flips and grinds, use a shutter speed of at least 1/1000s. This will capture every detail crisply, from the skateboard’s wheels to the skater’s facial expressions.
- Burst Mode: Use continuous shooting to capture multiple frames during a trick. Later, choose the perfect moment to showcase.
- Anticipate the Action: Study the skater’s movements. Position yourself where tricks are likely and start shooting just before they launch into the trick.
Best Camera Settings for Skateboarding Shots
Getting your camera settings dialed in lets you concentrate on timing and creativity rather than technical adjustments. Here are recommended settings:
- Shutter Speed: As mentioned, aim for 1/1000s or higher to freeze fast moving subjects. When experimenting with panning, slow it down to around 1/30s.
- Aperture: Use a wide aperture (small f-number like f/2.8-f/4) to isolate the skater and create a nicely blurred background. If you want more depth of field to keep both subject and background sharp, stop down to f/8 or f/11.
- ISO: Keep ISO as low as possible to avoid noise but increase it when necessary in lower light settings to maintain faster shutter speeds.
- Focus Mode: Continuous autofocus (AI-Servo or AF-C) helps lock focus on moving skaters and tracks them through the frame.
Composition and Framing Tips to Highlight Skaters
Great composition makes your skateboarding photos stand out and tells a story. Framing the skater in an interesting way draws viewers’ attention and highlights the athleticism and style of the sport.
Keep these framing tips in mind:
- Rule of Thirds: Position the skater off-center to add visual interest and leave space in the direction they’re moving to create a sense of motion.
- Low Angles: Shooting from a lower angle gives the skater a larger-than-life presence and makes tricks look more dramatic.
- Include Environment: Incorporate ramps, railings, and urban backdrops to provide context and enhance the story behind the image.
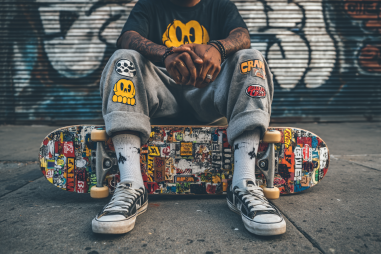
- Close-Ups: Don’t forget to capture intense facial expressions, worn shoes, or detailed shots of the skateboard to add personality.
- Use Leading Lines: Lines from rails, skatepark edges, or pavement can guide the viewer’s eye towards the skater and enhance the image flow.
Using Natural and Artificial Lighting Effectively
Lighting plays a major role in the mood and quality of your skateboarding photos. Understanding how to work with what’s available or add your own light source takes your images to the next level.
Natural light is often the best starting point:
- Golden Hour: Shooting during early morning or late afternoon provides soft, warm light that flatters skin tones and textures. Shadows add depth and dimension.
- Midday Light: Although harsh, midday sun can create crisp shadows and dynamic contrast, useful for emphasizing shapes and angles.
Artificial lighting options include:
- External Flashes: Use off-camera flash to freeze motion with a burst of light. Bounce the flash for cleaner, softer results.
- Continuous LED Lights: Great for controlled lighting but less portable.
- Reflectors: Help bounce sunlight to illuminate shadows without adding harsh direct light.
Common Mistakes to Avoid
Even experienced photographers can fall into pitfalls while shooting skateboarding. Being aware of these common mistakes will help you improve faster:
- Not Anticipating Action: Waiting to see the trick often means missing the peak moment. Stay alert and predict the skater’s next move.
- Using Too Slow Shutter Speed Without Panning: Blurry photos from camera shake or subject motion can ruin shots. Use a tripod if necessary or increase shutter speed.
- Overlooking Background Clutter: Busy or distracting backgrounds take away focus from the skater. Look for clean or complementary backgrounds before shooting.
- Underexposing or Overexposing: Skaters move across different light zones quickly—use exposure compensation or spot metering for correct exposure.
- Ignoring Safety: Both for yourself and the skater. Don’t position yourself in unsafe spots or disrupt the flow of the session.
Editing Tips to Enhance Skateboarding Photos
Post-processing lets you polish your skateboarding shots and emphasize the action, colors, and mood. Even small edits can elevate an image significantly.
Key editing tips include:
- Crop for Impact: Tighten your framing to remove distractions and center attention on the trick or subject.
- Adjust Contrast and Clarity: Improve detail in textures like concrete and clothing.
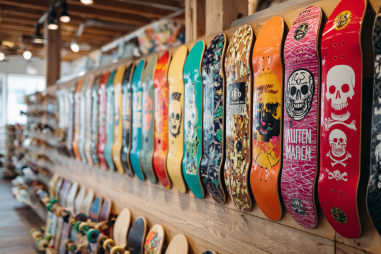
- Boost Vibrance or Saturation: Make skateboards, graffiti, and apparel pop, but avoid oversaturation.
- Sharpen Selectively: Sharpen the skater and board for crispness while keeping background softer.
- Convert to Black and White: For a timeless look, monochrome can highlight motion and shapes beautifully.
With practice and creativity, anyone can master skateboarding photography. Getting the right gear, understanding your camera settings, and being drawn into the action will help you capture moments that tell compelling stories of skill, style, and passion.