Post production is where your skateboarding videos truly come to life. While capturing rad tricks and smooth lines on film is the first step, shaping that raw footage into a captivating story takes skillful editing. From organizing your clips to fine-tuning colors and mixing sound, this phase transforms simple recordings into professional-quality skate films that grab attention and keep viewers hooked. Whether you’re a beginner or looking to level up your editing game, these post production tips for skateboarding videos will help you edit like a pro and showcase your skating in the best light possible.
Organization and Footage Review
Before jumping into the fun part of cutting and effects, it’s crucial to get organized. Post production starts with sorting through your footage and selecting the best clips. Skate videos often involve multiple takes, angles, and setups, so spending time reviewing everything before editing saves headaches later. Create folders for different sessions, tricks, or locations to keep things neat. Label clips clearly with details such as date, skater name, or trick type. This way, when you dive into editing, you won’t waste time hunting down specific shots.
Playback your footage carefully to note standout moments, mistakes, or technical issues. Flag or mark these clips with your video editor’s inbuilt tools so you can easily locate them. Also consider the story or flow you want your video to have—whether it’s highlight clips strung together or a narrative sequence that builds excitement. A solid organization system ensures a smooth editing process and helps you stay focused on crafting a compelling skateboarding film.
Basic Cutting and Trimming Techniques
The foundation of video editing lies in effective cutting and trimming. After organizing your clips, it’s time to assemble them in your timeline. The goal is to maintain pace and keep viewers engaged, so avoid long, draggy shots that lose energy. Start by cutting out any errors, shaky footage, or repetitions that don’t enhance the flow.
Trim clips tightly around the action, focusing on the moment the skater pops, flips, or lands. Quick cuts help maintain momentum, especially in high-paced skate edits. Experiment with speed ramps—slowing down the most impressive tricks to emphasize skill, then speeding up transitions to keep things lively. Remember, seamless cuts and well-timed edits make your footage feel polished and professional, allowing the skating itself to shine.
Color Correction and Grading Essentials
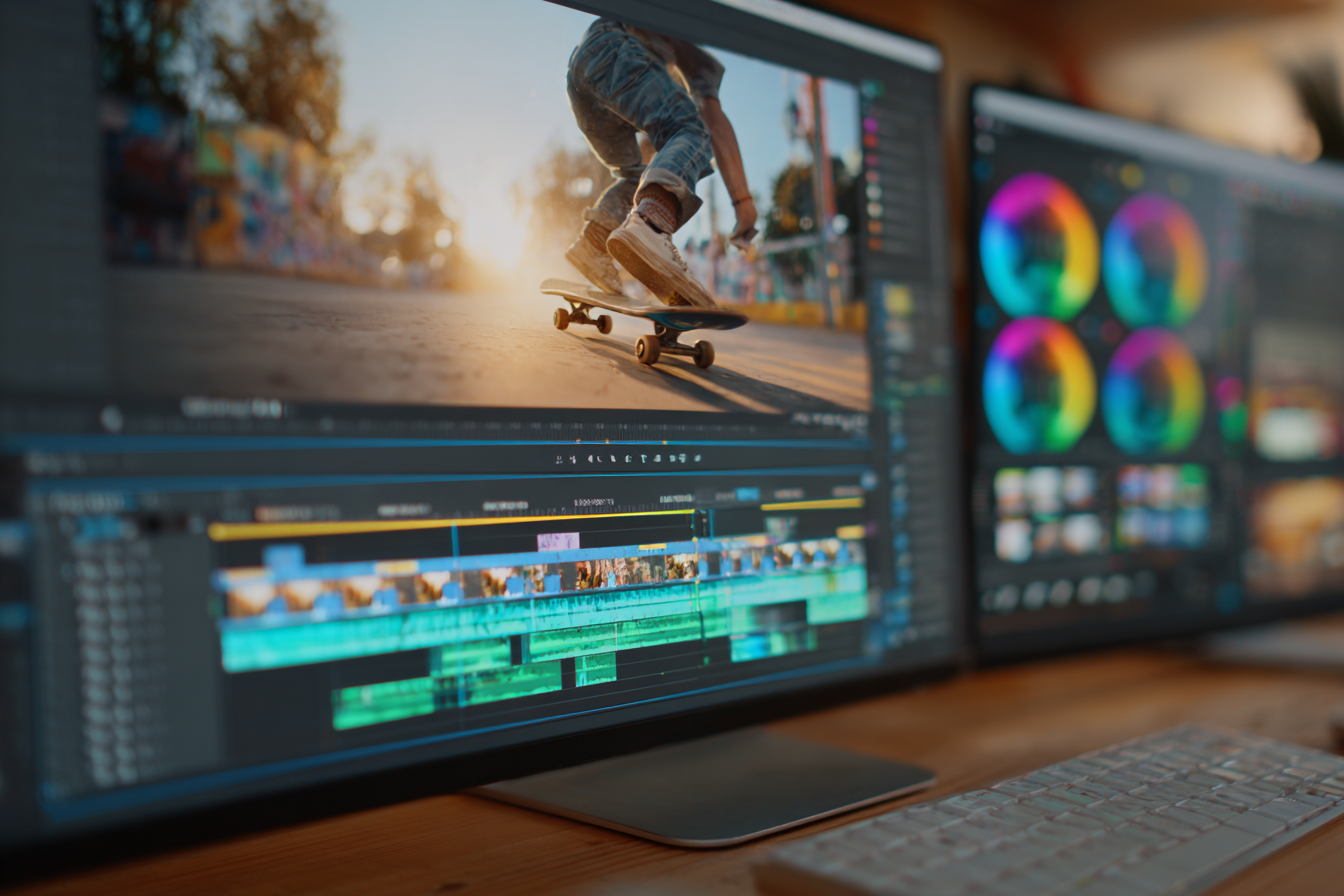
Color work is often overlooked but can dramatically improve the look and mood of your skate videos. Start with basic color correction to fix exposure, contrast, and white balance. Skate footage may have inconsistencies due to changing sunlight or camera settings, so correcting these helps create a consistent base.
Next, color grading adds style and atmosphere. You might go for a gritty, urban feel with desaturated colors for street skating, or vibrant, sunny hues for beach or park sessions. Experiment with color temperature, saturation, and contrast to highlight the environment and evoke emotion—bringing the viewer closer to the skating experience.
Pro tip: Use LUTs (Look-Up Tables) carefully as presets but customize them to fit your footage. Overdoing color grading can look unnatural, so aim for subtle enhancements that support the story and energy of your skate video.
Adding Effects and Transitions
While skate videos should primarily highlight the skater’s skills, tasteful effects and transitions can enhance storytelling. Avoid overusing flashy effects that distract from the tricks. Instead, focus on simple transitions like cuts, fades, and quick zooms to keep the flow dynamic.
Some popular effects in skate video post production include:
- Motion blur for smoother action
- Speed ramps to emphasize timing
- Light leaks or film grain for a vintage vibe
- Split screens to compare tricks or showcase multiple angles
- Subtle text overlays for skater introductions or trick names
Keep in mind, every effect should serve a purpose and maintain viewer focus on the skating. Experimental but restrained use of graphics and transitions makes your edit look intentional and professional.
Sound Design and Music Selection
Sound is a crucial layer that transforms your skate video from good to great. Careful sound design includes mixing original audio, adding sound effects, and most importantly, selecting the right music. The soundtrack sets the tone and energy, making your edits unforgettable.
Start by cleaning the audio captured during filming—reduce wind, background noise, or any unwanted sounds. Then, decide if you want to keep natural skating and rolling sounds to add authenticity, or focus completely on a musical score. If you include skating sounds, their mix should complement, not overpower, the music.
When picking music, choose tracks that reflect the vibe of your video and the personality of the skaters. Popular genres include indie rock, hip-hop, punk, or electronic beats which naturally align with skate culture. Sync your cuts, transitions, and trick highlights to musical beats or rhythm shifts to create a cohesive viewing experience.
Exporting Settings for Different Platforms
Once your skate video looks and sounds amazing, exporting correctly is the final step before sharing it with the world. Different platforms have varying optimal codecs, resolutions, and bitrates, so tailoring your export settings ensures the best playback quality.
For most social media platforms like Instagram, TikTok, or Facebook, exporting in MP4 format with H.264 codec at 1080p resolution is ideal. Maintain a frame rate matching your source footage, typically 24 or 30 fps. If you’re uploading to YouTube or Vimeo where higher resolutions are accepted, consider 4K exports if your original footage supports it.
Other important considerations:
- Keep bitrate balanced — too low can degrade quality, too high creates large files
- Check aspect ratios—vertical videos perform better on TikTok, while horizontal is standard on YouTube
- Include metadata or chapter markers if your video contains multiple segments
Following platform-specific export tips guarantees your skateboarding video looks sharp and professional for your audience.
Testing and Feedback
Before releasing your skate video to the public, testing and gathering feedback is invaluable. Watch your final export on multiple devices—smartphones, desktops, tablets—and under different lighting conditions to spot any playback issues or color inconsistencies.
Share a draft with trusted friends, fellow skaters, or video editors who can provide constructive criticism. Fresh eyes often catch clips that feel out of place, awkward transitions, or pacing issues you might have missed. Be open to feedback and willing to make adjustments to tighten the flow and improve the overall impact.
Remember, iterative refinement helps ensure your skate video not only looks professional but also resonates strongly with your audience.
Bringing Your Skate Video to Life
Post production is where your skateboarding footage transforms from raw clips into an engaging, stylish film that showcases talent and passion. By staying organized, applying precise editing techniques, enhancing color, adding subtle effects, and carefully choosing sounds and music, you edit like a pro and create videos that captivate.
With attention to exporting details and seeking feedback, your final skate video will impress both casual viewers and skateboarding enthusiasts alike. Embrace the process, experiment creatively, and most importantly, let the skating take center stage as you bring your post production skills to new levels.