Nordic skiing, known for its graceful movements and endurance-testing trails, offers both a fantastic workout and a chance to connect with winter landscapes. However, to truly enjoy the sport and perform at your best, having properly waxed skis is crucial. Waxing your Nordic skis correctly enhances glide and grip, making your outings smoother and more efficient. Whether you’re a beginner or a veteran seeking to sharpen your technique, knowing the ins and outs of ski waxing can make a big difference on the snow.
Why Waxing Is Important for Nordic Skis
Waxing plays a vital role in the performance of Nordic skis. Essentially, it serves two main functions: improving glide and enhancing grip. The base of your skis interacts directly with the snow, and without proper waxing, friction increases, slowing you down. Glide wax reduces this friction by creating a smooth, slippery surface that allows your skis to slide effortlessly over the snow. Meanwhile, grip wax or kick wax is applied to the middle section of classic Nordic skis to provide traction during the kick phase of your stride, preventing backward slipping on uphill sections or flat terrain.
Proper waxing not only improves speed and control but also protects the ski base from drying out or damage caused by abrasive snow conditions. In short, waxing your skis ensures a better ride, greater efficiency, and prolongs the lifespan of your equipment.
Types of Waxes and Their Purposes
Nordic skiing waxes come in a variety of types, each designed for specific snow conditions and temperatures. Choosing the correct kind of wax is essential to match the environment you’ll be skiing in.
- Grip Wax (Kick Wax): Used for classic skiing to provide traction. These waxes vary from soft to hard, depending on snow temperature and texture.
- Glide Wax: Applied to the tips and tails of both classic and skate skis to improve glide. Glide waxes are selected based on snow temperature and moisture level.
- Universal or All-Temperature Wax: A convenient choice for recreational skiers, these waxes work reasonably well over a broad range of temperatures but might not provide optimal performance in extreme conditions.
- Fluorocarbon Wax: High-performance wax that repels water, ideal for wet snow conditions or racing, but it tends to be more expensive.
- Powder or Rub-On Wax: Easy to apply, suitable for quick touch-ups or warm, dry snow, though less durable than traditional hot wax.
Preparing Skis for Waxing
Before applying wax, it’s important to prepare your skis properly to ensure the wax adheres well and works effectively. Begin by cleaning the ski base to remove old wax, dirt, and debris. You can use a ski base cleaner or rubbing alcohol with a clean cloth for this purpose. Avoid using harsh solvents that can damage the base.
Next, inspect the base for any scratches or damage. Minor scratches can be smoothed out with a base structuring tool, but deeper gouges may require professional repair. Once clean and smooth, your skis are ready for waxing.
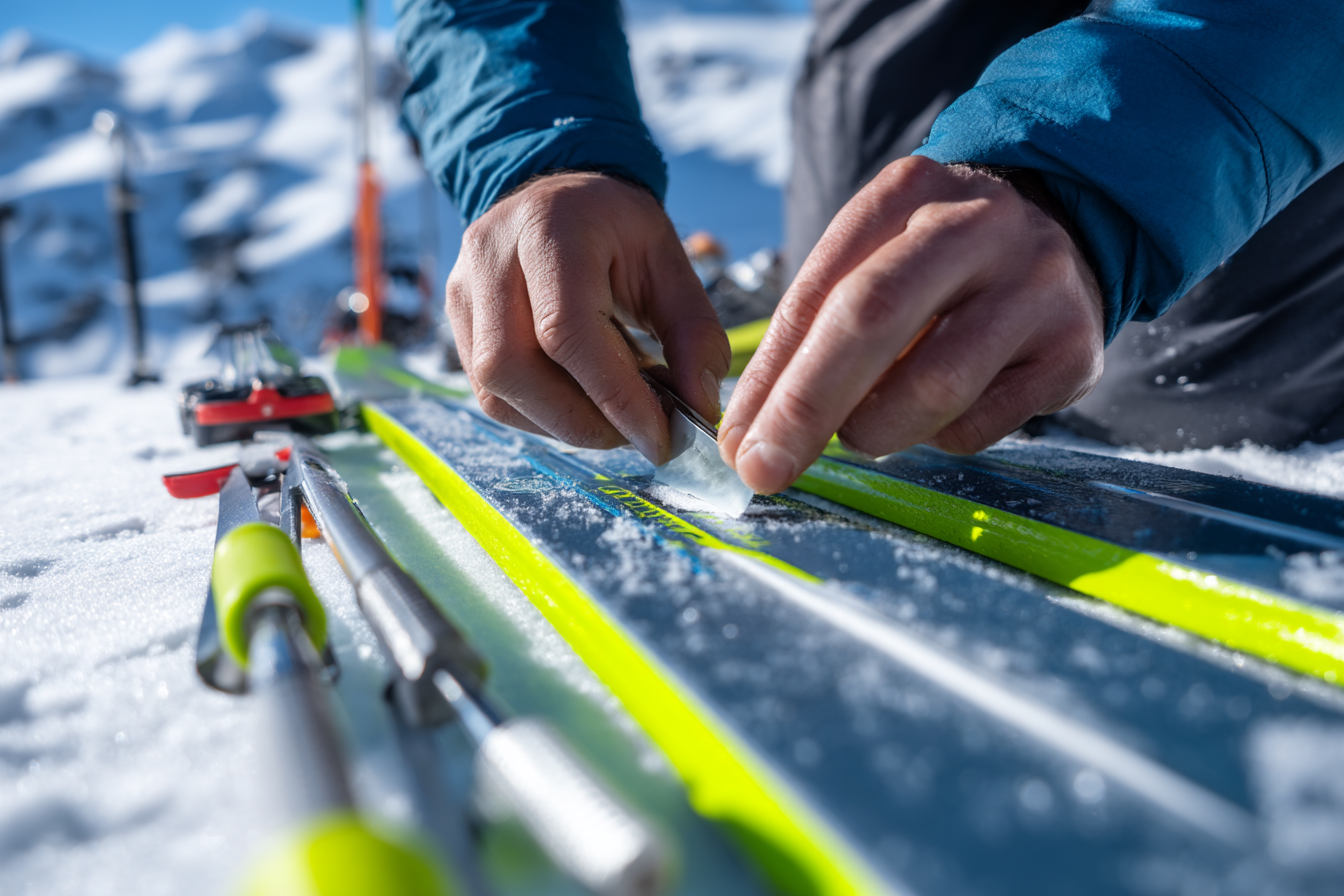
Step-by-Step Waxing Process
Waxing your Nordic skis might seem complicated at first, but following these clear steps makes the task straightforward and rewarding.
- Heat your waxing iron: Use a waxing iron designed for ski use. Set it to the wax manufacturer’s recommended temperature, usually around 120–140°C (250–280°F).
- Apply the wax: Hold the wax against the hot iron and let it drip onto the ski base evenly, starting with the glide zones (tip and tail for classic skis) or the entire base for skate skis.
- Iron the wax in: Place the iron on the ski base and spread the wax evenly from tip to tail. Keep the iron moving to avoid overheating or damaging the ski base.
- Let the wax cool: Allow the skis to cool completely for at least 20–30 minutes at room temperature so the wax hardens and bonds to the base.
- Scrape off excess wax: Use a plastic scraper held at a slight angle to remove excess wax from the ski base, working from tip to tail.
- Brush the base: Using a ski brush (nylon or horsehair), brush the base to remove tiny wax particles and polish the surface for optimal glide.
- Apply grip wax: For classic skis, apply the grip (kick) wax to the designated binding zone, usually the middle section of the ski. Rub it in until the surface becomes slightly tacky but not gloppy.
Tips for Different Snow Conditions
Snow conditions can vary widely, impacting the wax choice and application. Here are some pointers to help you adapt your waxing strategy:
- Cold, dry snow (below -10°C): Use harder grip waxes as snow crystals are sharp and can wear down softer wax quickly. Hard glide wax or fluorocarbon wax performs well.
- Moderate cold (–5°C to –10°C): Medium-hard grip waxes suit these temperatures. Regular glide wax works best for smooth performance.
- Wet or icy snow (above –5°C): Softer grip waxes provide better grip in wetter snow. Fluorocarbon glide wax helps repel moisture and reduces suction that slows glide.
- New, powdery snow: Softer waxes help grip the fluffy snow without slipping, and glide wax should be chosen to reduce friction.
- Changing conditions: Carry rub-on wax for quick on-trail adjustments to maintain performance without having to re-wax fully.
Common Waxing Mistakes to Avoid
Even experienced skiers can fall into common pitfalls that diminish waxing effectiveness. Here are mistakes to watch out for:
- Overheating the wax iron: Excessive heat can damage the ski base and burn the wax, leading to poor performance.
- Applying wax unevenly: Uneven wax application results in inconsistent glide and grip, making skiing awkward and tiring.
- Ignoring snow temperature: Using the wrong wax type for the current snow temperature reduces grip and glide efficiency.
- Not scraping off excess wax: Leaving too much wax on the base causes drag, slowing you down.
- Skipping base cleaning: Old wax, dirt, or debris hinders new wax from bonding properly to the base.
Maintaining Your Skis Between Waxes
Proper maintenance between waxing sessions helps keep your skis in good condition and prolongs the time between full waxes. After each outing, wipe your skis clean and dry to remove moisture and debris. Store them in a cool, dry place away from direct sunlight or heat sources that can damage the base and edges.
Occasionally brushing your skis with a nylon brush helps keep the base structure clear and ready for the next wax. Also, keeping an eye on edges and tuning them if needed ensures optimal control and safety on varied terrain.
Enhancing Your Nordic Skiing Experience with Proper Waxing
Mastering the art of waxing your Nordic skis contributes greatly to both your enjoyment and performance on the trails. With the right wax, preparation, and techniques, you’ll glide faster, gain better control, and feel more connected to your skiing environment. Remember that waxing is both a science and an art, evolving with your experience and the conditions you encounter.
Embrace the learning process, experiment with different wax types, and adjust as necessary to suit weather and snow changes. In doing so, you’ll ensure that every ski outing is smoother, more efficient, and ultimately more fun.